| ... | ... |
Macro Photography With the Tamron 180mm Macro Lens
by Mike Busby The last few months have ushered in spring, and it is insect photography time with the macro lens. More specifically, photographing with the Tamron 180mm macro lens for Nikon and Canon. I purchased this lens several years ago as a fun lens for photographing bugs. However, the lens is producing fantastic results, it is making money, and it generated two portfolio images that passed the Professional Photographers Certification (CPP) through the Professional Photographers of America (PPA). The images in this article are about technique just as much as they are about the lens. So, this article is about the application of the lens and the technique used to capture the images. In brief, this lens has the quality of a good kit lens as put forth by the brand names. The lens sometimes hunts a bit while focusing, but I am shooting very small and fast moving objects. The focusing is a minor irritation compared to the results that it gets, and the hunting diminishes the more you adjust to the feel of the lens.
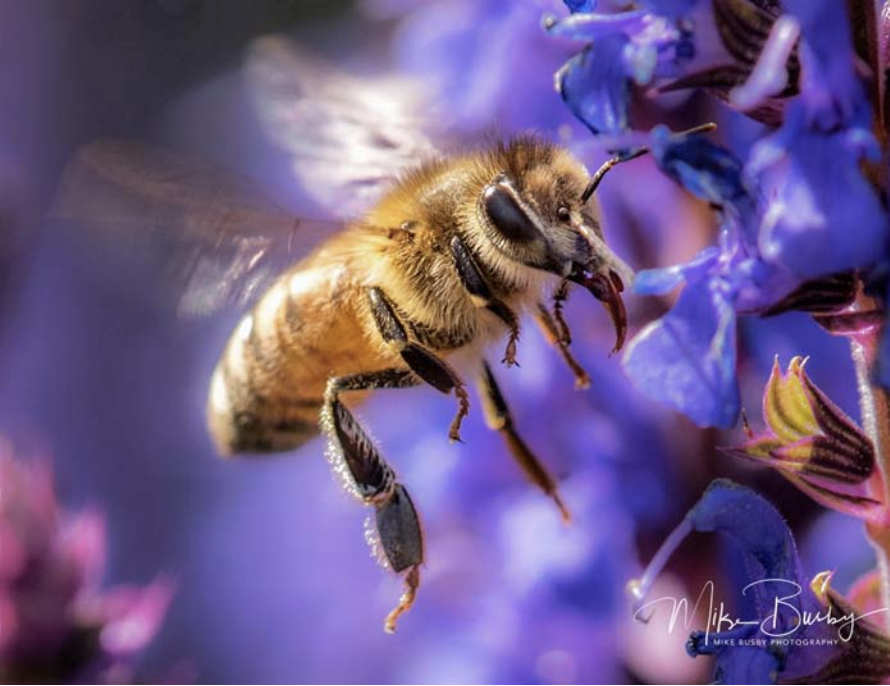
Black and White Bee, f/8 @ 1/750th, ISO 400 Depth of field is the primary design element when it comes to macro photography. On “Black and White Bee,” the antenna is sharp, the other is out of focus, and this is in the space of a couple of millimeters. The two ways to adjust depth of field are to stop down the aperture, or move further away from the subject. Rather than long detail, I know I want the final images to be good quality for a 16x20 print – 20x30 if I’m lucky. I can use the above camera settings, on a bright sunny day, and shoot all day long. I also know that if the bug is about the size of a nickel, on the back of the viewer screen, then I am in range of my printed goal. Also, like a shallow depth of field portrait, I just need to get the primary eye in sharp focus. This image was converted to black and what, and then had some minor brightness and contrast adjustments made to it. The front flowers were softened to accentuate the sharpness of the bee. However, the image itself was not sharpened – it all came from the lens. This image was also my compulsory selective depth of field image for CPP certification and passed the PPA evaluations.  Flight, f/8 @ 1/750th, ISO 400 Flight, f/8 @ 1/750th, ISO 400All my shots are live bugs in the field. They aren’t frozen, they aren’t dead, and they aren’t coated in hairspray. However, they do move faster than you can process. If you see a pose, then it’s too late. The bee has already moved by the time your brain registers what you see. This means you’re shooting to anticipate. Yes, I shoot a lot of frames that end up in the trash bin, but the technique works, the technique is valid under the circumstances, and all of the good shots are authentic. “Flight” is a lucky shot, a one in five thousand shot – literally. I try to follow the bee with the eyeballs in the autofocus and let the lens and camera do the rest.
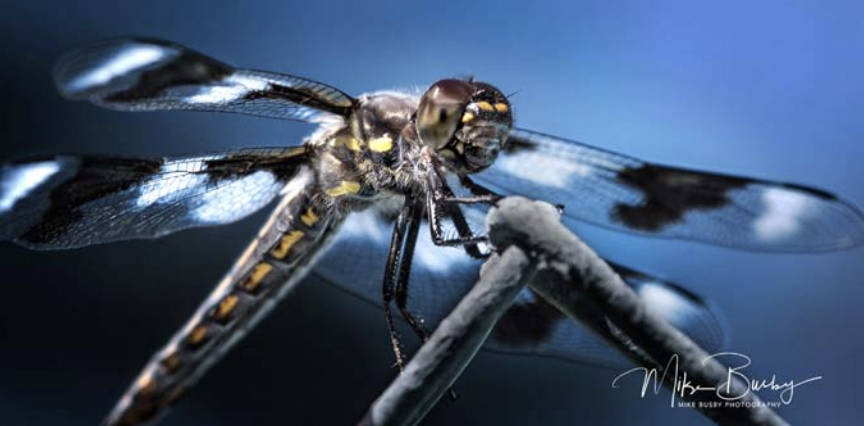
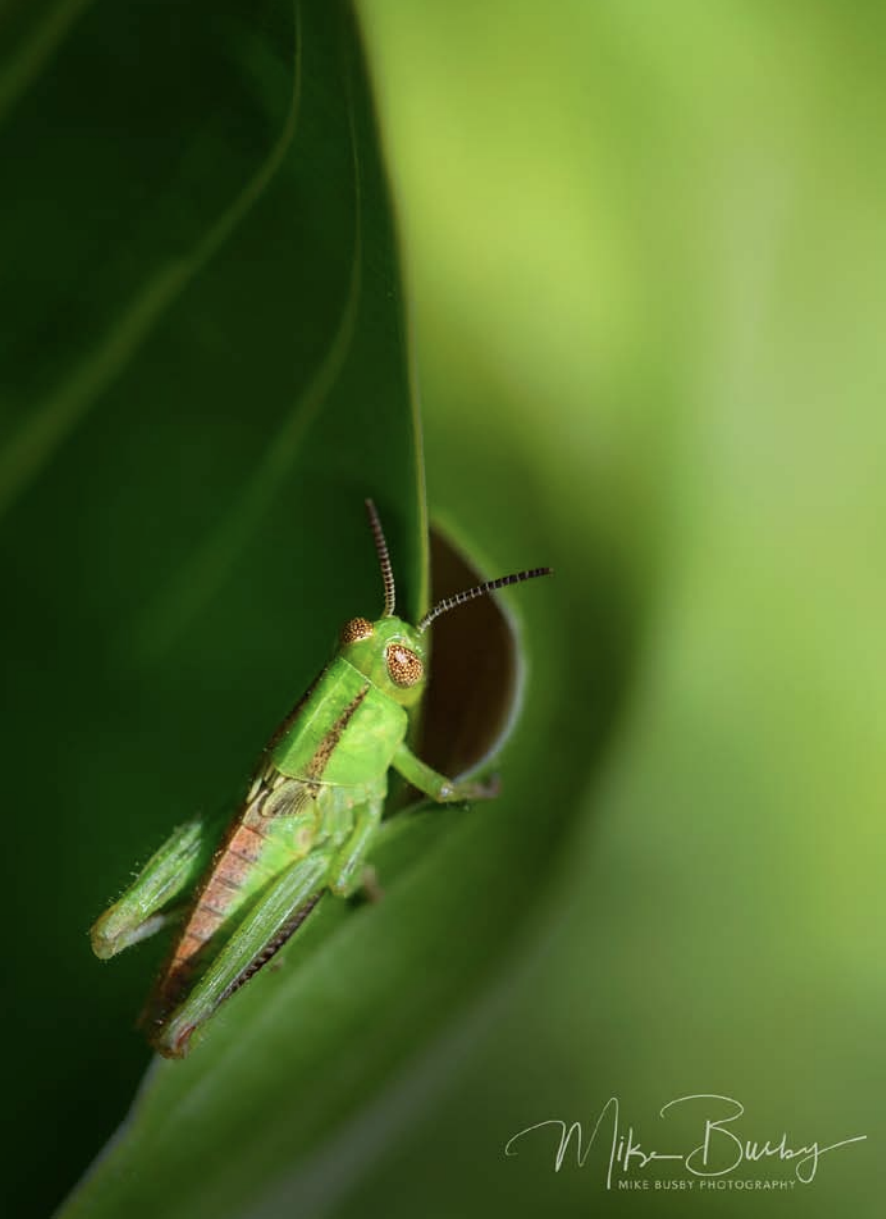
Blue Dragon, f/8 1/750th, ISO 200 | This is almost a full frame shot, and there is a ton of depth of field – relatively speaking. How did this happen? It is an example of freehand photo-stacking. One can focus using the autofocus, but many macro photographers change focus by simply moving the camera closer or further from the subject. In this case, I used back-button focusing, and a high speed shutter. I auto-focused on the point closest to me, then incrementally moved forward while taken continuous photos. This can be used in the field for any static subject. The images were brought into Photoshop, and just the sharp areas of each image was layered through. This is a big tip. This dragonfly would land on the fence, take off, and come back a few second later. If I moved to the dragonfly, while it was sitting, then off it would go. However, I put a chair close to where it was landing and held the camera up. It landed right in front of me, it posed for me, and I got a number of great shots. The same applies for bees. Find where they are, and then place a chair near or even in the plants. Be patient and the bees will come to you, and they won’t be disturbed by your presence. You are on your own the wasps, hornets, and those big bumble bees. The Tamron lens surprised me, and it transformed an area photography that was a hobby into a revenue stream. More importantly, it was $1,200 less than the Nikon equivalent. I am frequently asked how I get the bugs to pose. I say, “I talk them through it. You know – Antennae up, Thorax out, and tuck in your abdomen.” Well, the real trick is to just follow them. This grasshopper was moving about the plant. This image came into view and it was click, click, click, while trying to ensure the focus point was on the eyes. Once you understand that you don’t have control, and Mother Nature will give you what she gives, then it becomes easy to compromise. Really, good macro photography is about patience as much as it is about technique and equipment.
In the Green, f/6.7 @ 1/1000th, ISO 400 I used to purchase only name brand lenses for name-brand cameras. However, the quality of the third-party lenses continues to improve throughout the years. I am unable to compare the Tamron 180mm Macro to the Nikon equivalent, but I know the Tamron is $1,200 less, and it does absolutely everything I need it to do. Technical Specifications Tamron TelePhoto SP AF 180 Originally published in The Washington Photographer Issue Summer 2018 To read this and other great articles, become a member of PPW and have access to all current and back issues of Washington Photographer today! |


